Product Description
**AS OF SEPTEMBER 23, 2025 - THESE ARE CURRENTLY UNDER PRODUCTION. PLEASE ALLOW 2-3 WEEKS FOR DELIVERY**
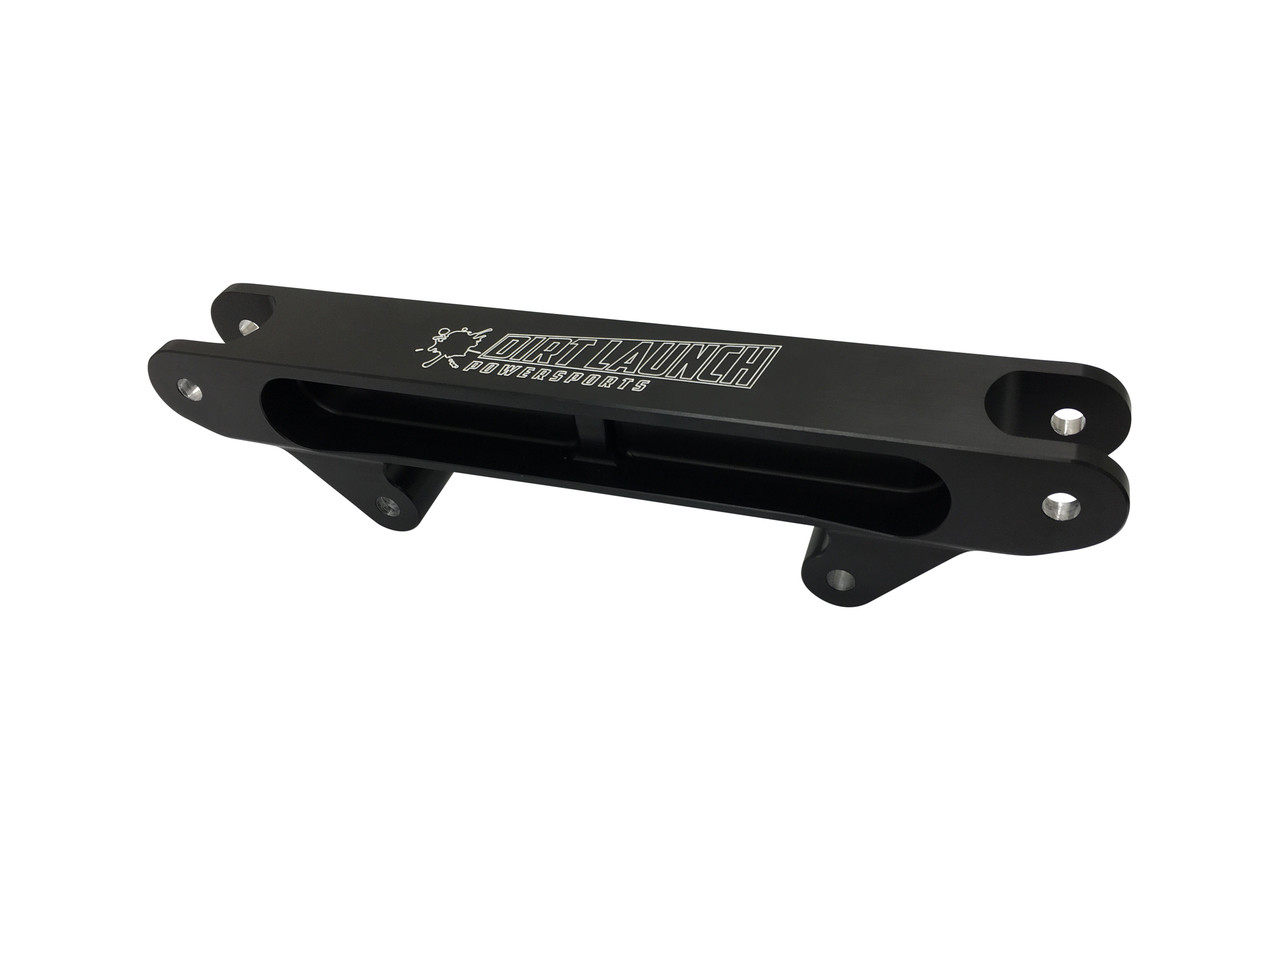
Made from CNC billet aluminum the Dirt Launch Powersports Shock Relocation Bracket is the easy bolt-on solution to adjusting your shock mounting position. Installs in just a few minutes and provides an immediate improvement in suspension geometry.
Anodized for a durable finish
All installation hardware is included
MADE IN THE U.S.A.
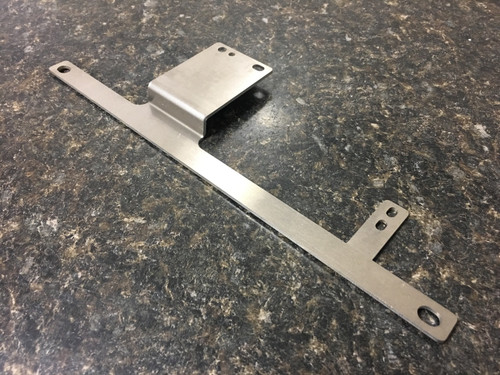
Bolt on gusset for added strength and a piece of mind when riding hard
-
This optional gusset is made of thick tig welded steel
-
Uncoated for fitment purposes Which also gives you the option to weld it to the frame
-
This gusset is installed from the bottom of the frame tubes to help prevent shock mount frame failures
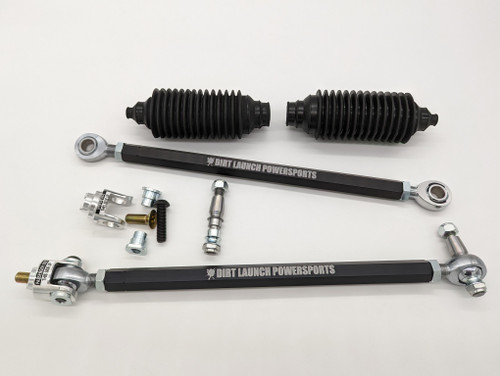
Upgrade your factory upper and lower shock bolts by selecting the much stronger Bolt Upgrade option
Here's what Luke says about our Shock Tower Brace: "Our DLP shock relocation bracket moves the upper end of the front shocks out and up. Because it moves it out, the upward movement negates any ride height difference. By moving the shocks out it puts the leverage on the control arm more perpendicular to the arm, less parallel than the stock mount does. This is especially true at full compression. While this does increase the leverage on the stock mount, it also decreases the amount of force applied especially at the limits. The brace also stiffens the stock mount and the extra bolt underneath reduces flex. What you will notice by just bolting this on is the suspension will feel stiffer and more responsive when cornering and also a bit stiffer when jumping. The most noticeable part is when landing. When the suspension is at full compression, it just doesn't give up like it would stock. It is controlled all the way through the landing."
Dirt Launch Powersports Yamaha YXZ1000R Shock Tower Brace Installation Instructions
-
Remove the plastic cover over the radiator.
-
Remove the M10 head bolt from the plastic cover going over the shock tower. Trim the plastic over the shock tower to make room for the brace.
-
Safely lift the front of the vehicle and place on jack stands.
-
*IMPORTANT* VERIFY FRONT SUSPENSION IS UNCOMPRESSED.
-
Remove the top mounting bolts from the front shocks.
-
Mount the shock brace to the chassis with the two bolts removed in step 5.
-
Bolt on gusset option- (if selected in checkout)
-
Install the gusset by sliding long end up through the frame from the bottom (Flat side facing forward) with the m8 bolt supplied, threading into the shock brace. Note: use loctite or equivalent on this bolt
-
Note: Some minor massaging may be required on the gusset due to the chassis differences
-
Install the small bolt supplied in the kit from the bottom side of the shock mount into the center of the shock brace.
-
Once those are all tight, attach the top of the shocks to the brace using the long bolts supplied in the kit.
-
Bolt upgrade option- (if selected in checkout)
-
Replace the oem upper and lower shock mounting bolts with the much stronger upgraded bolts. Reusing the oem nuts
-
Verify everything is tight, lower vehicle, and enjoy!
Product Videos
Custom Field
Product Reviews
2 Reviews Hide Reviews Show Reviews
-
Piece of Artwork
If your looking to get rid of that notorious bucking that YXZs are known for, this is the product to do it! After a few quick shock adjustments to compensate for the shock geometry change, I’ve never felt my car handle so well! Some beautiful machine work! I would love to send in my personal pictures to show other customers where to cut the plastics. It took me 10 minutes tops to cut it clean to fit.
-
good quality
This piece is made to take a beating. It also fits like a glove. Wish it came with directions on where to cut the plastic.


